- Make sure the profile options are Set properly(*Ideally set at User Level): Personalize Self-Service Defn : YesFND: Personalization Region Link Enabled : Yes (Default: Minimal) *this is optional based on your req.)
- Open your intended Self Service Page: Now, we will see Personlize tags at every Region.
- Example: Hide Tabs Profile in Customer Master at a Responsibility level.(version: 12.1.3)
- Go To that responsibility for Example: XX_TEST_Responsibility. Open the Customers Self Service Page.
- Go to the Customer Master Record and click Personalize Page on the Top.
- Go to Link: Profile and click the Personalize Icon
- Go to Rendered Property and select False. Click Apply.
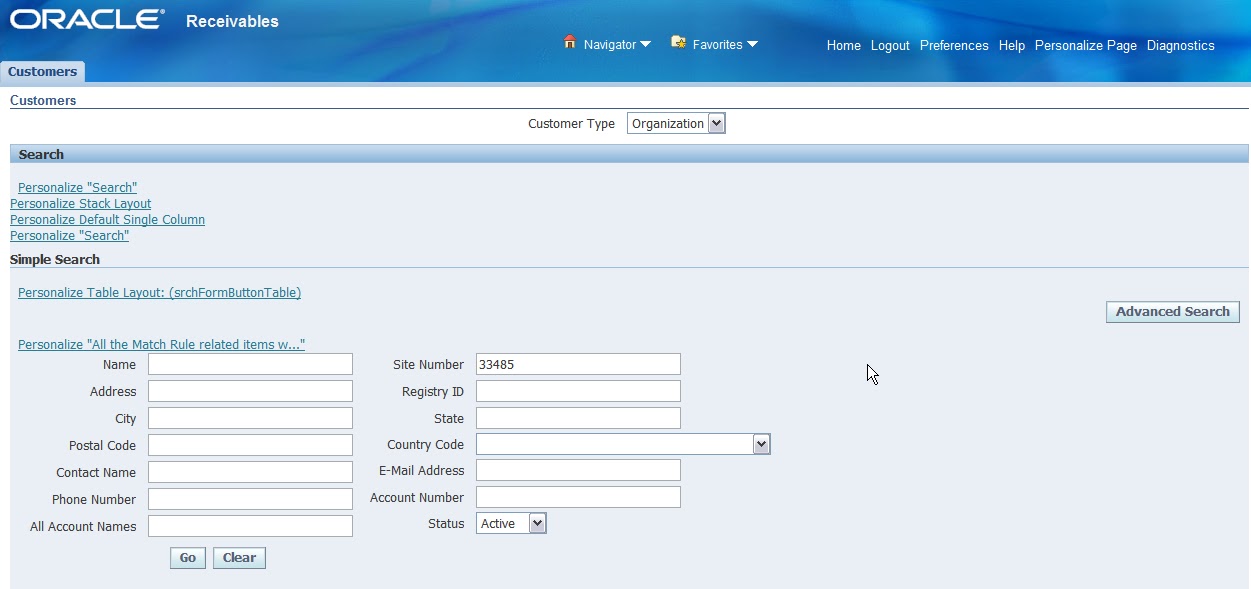 |
| Query for the intended Customer. |


go back to Application -- We can see the changes.
Migration: (*Courtesy: AnilPassi.com)
Source Environment
- Set profile option “FND: Personalization Document Root Path”. The value of this profile option will be the directory name on mid-tier
- Ensure that this directory exists on mid-tier machine of the destination environment
- Login to Functional Administrator Responsibility
- Navigate to tab “Personalization”
- Click on Import/Export
- Search the desired personalizations for the application name
- Extract the personalilzations
- Login to linux/unix mid-tier and cd to directory specified in profile option
- Do tar –cvf xxPersonalizations.tar ./*
Destination Environment
- Set profile option “FND: Personalization Document Root Path”. The value of this profile option will be the directory name on mid-tier
- Ensure that this directory exists on mid-tier machine of the destination environment
- FTP the xxPersonalizations.tar to the directory specific in above profile option
- Cd to that directory
- tar –xvf xxPersonalizations.tar *****
- Login to Functional Administrator Responsibility
- Navigate to tab “Personalization”
- Click on Import/Export
- Select and Import the personalizations that have been imported